Why Does My LVP Floor Feel Sticky After Mopping?

August 25, 2026

A sticky luxury vinyl plank floor usually isn’t still dirty—it may be covered with cleaning-product residue.


Using too much cleaner, mixing incompatible products or repeatedly applying products marketed as “shine restorers” can leave a thin film across LVP. That film attracts soil, holds footprints and makes the floor look dirty again shortly after cleaning.


Adding more cleaner often makes the problem worse.


The Cleaner Isn’t Disappearing

Many homeowners assume floor cleaner evaporates with the water. Water may evaporate, but detergents, fragrances, oils and polymers can remain behind.


After repeated mopping, these residues can build into layers.


Common symptoms include:


  • Sticky or tacky floors
  • Bare footprints appearing quickly
  • Dark traffic lanes
  • A hazy or cloudy appearance
  • Mop streaks visible in sunlight
  • Pet hair clinging to the floor
  • Shoes squeaking
  • Floors that seem dirty immediately after cleaning


The problem may be residue—not a lack of cleaning.


Products That Can Create LVP Buildup

Residue can develop from:


  • Using more cleaner than the label recommends
  • Pouring concentrated cleaner directly onto the floor
  • Oil soaps
  • Mop-and-shine products
  • Wax-based products
  • Dish detergent
  • Laundry detergent
  • Repeated applications of scented cleaners
  • Dirty mop water
  • Steam-mop additives
  • Mixing several cleaners together


Products designed for hardwood, tile or laminate may not be appropriate for LVP.


Why More Cleaner Doesn’t Mean a Cleaner Floor

Detergent molecules help loosen soil, but they must also be removed.


If too much detergent is used—or the floor is never properly rinsed—the remaining cleaner becomes a soil magnet.


That creates a frustrating cycle:


The floor looks dirty.

More cleaner is applied.

Additional residue remains.

The floor attracts more soil.

The homeowner cleans it even more often.

Eventually, the floor may look worse after mopping than it did before.


A Simple Residue Test

Choose a small, hidden section of flooring.


Wipe it several times with a clean white microfiber towel lightly dampened with plain water. If the towel begins producing foam, feels unusually slick or collects cloudy residue, cleaning-product buildup may be present.


Do not flood the floor during this test.


Water can enter plank seams and affect the adhesive, edges or subfloor.


How to Maintain LVP Correctly

1. Remove Dry Soil First

Vacuum or dust-mop before using liquid.


Sand and grit can scratch the wear layer when pushed around with a wet mop.


2. Use the Correct Amount of Cleaner

Follow the manufacturer’s dilution instructions. More product does not improve the result.


3. Use Clean Microfiber

A dirty mop spreads grease, soil and old chemicals across the floor.


Replace or rinse microfiber pads as they become dirty.


4. Work in Small Sections

Do not allow cleaning solution to sit heavily on the floor or enter open seams.


5. Remove the Cleaning Solution

When appropriate for the product and flooring manufacturer, use a separate clean microfiber pad to remove remaining residue.


6. Dry the Floor

Drying the floor reduces streaking and prevents water from remaining around plank edges.


Why Steam Mops Can Be Risky

Steam introduces heat and moisture near plank seams.


Depending on the flooring and installation, this can contribute to:


  • Edge lifting
  • Adhesive problems
  • Warping
  • Separation
  • Moisture entering beneath the floor
  • Warranty concerns


Check the flooring manufacturer’s instructions before using steam.


Can Professional Cleaning Remove the Buildup?

Often, yes—but the process must be controlled.


HSquared may use:


  • Dry-soil removal
  • An LVP-compatible cleaning solution
  • Controlled mechanical agitation
  • Recovery of loosened soil and residue
  • Neutral rinsing when appropriate
  • Air movement and drying
  • Test areas before treating the entire floor


The goal is to remove contamination without flooding seams, scratching the wear layer or applying another coating.


What Not to Put on LVP

Unless specifically approved by the flooring manufacturer, avoid:


  • Floor wax
  • Furniture polish
  • Oil soap
  • Bleach mixtures
  • Abrasive powders
  • Straight vinegar
  • Highly alkaline degreasers
  • Mop-and-shine coatings
  • Undiluted disinfectants
  • Dish soap


Some products may temporarily make the floor look shiny while creating a long-term buildup problem.

Frequently Asked Questions

  • Why are my socks dirty after I mop?

    The floor may still contain loosened soil, or cleaner residue may be attracting new dirt. A dirty mop can also redistribute soil instead of removing it.

  • Can I use vinegar on LVP?

    Do not assume vinegar is safe for every LVP floor. Follow the flooring manufacturer’s care instructions, especially if the floor is still under warranty.

  • Why does my LVP look cloudy?

    Cloudiness may be caused by cleaner buildup, hard-water minerals, an applied coating or damage to the wear layer.

  • Can LVP be professionally scrubbed?

    Yes, but the equipment, pad, chemistry and moisture level must be appropriate for the flooring. Aggressive scrubbing can damage the finish.

  • Should LVP be waxed?

    Most modern LVP is manufactured with a wear layer and is not intended to receive traditional floor wax.

  • Can every sticky floor be restored?

    Most residue-related problems can be improved. Permanent wear-layer damage or an incompatible coating may require additional evaluation.

Stop Adding Cleaner to a Residue Problem


If your LVP feels sticky, looks cloudy or becomes dirty immediately after mopping, don’t automatically apply a stronger cleaner.


HSquared Carpet Cleaning can test the floor, identify likely residue and determine the safest cleaning method.


HSquared Carpet Cleaning

Professional carpet, upholstery, tile, LVP and hard-floor cleaning throughout North Carolina.


Share Post

Recent Posts
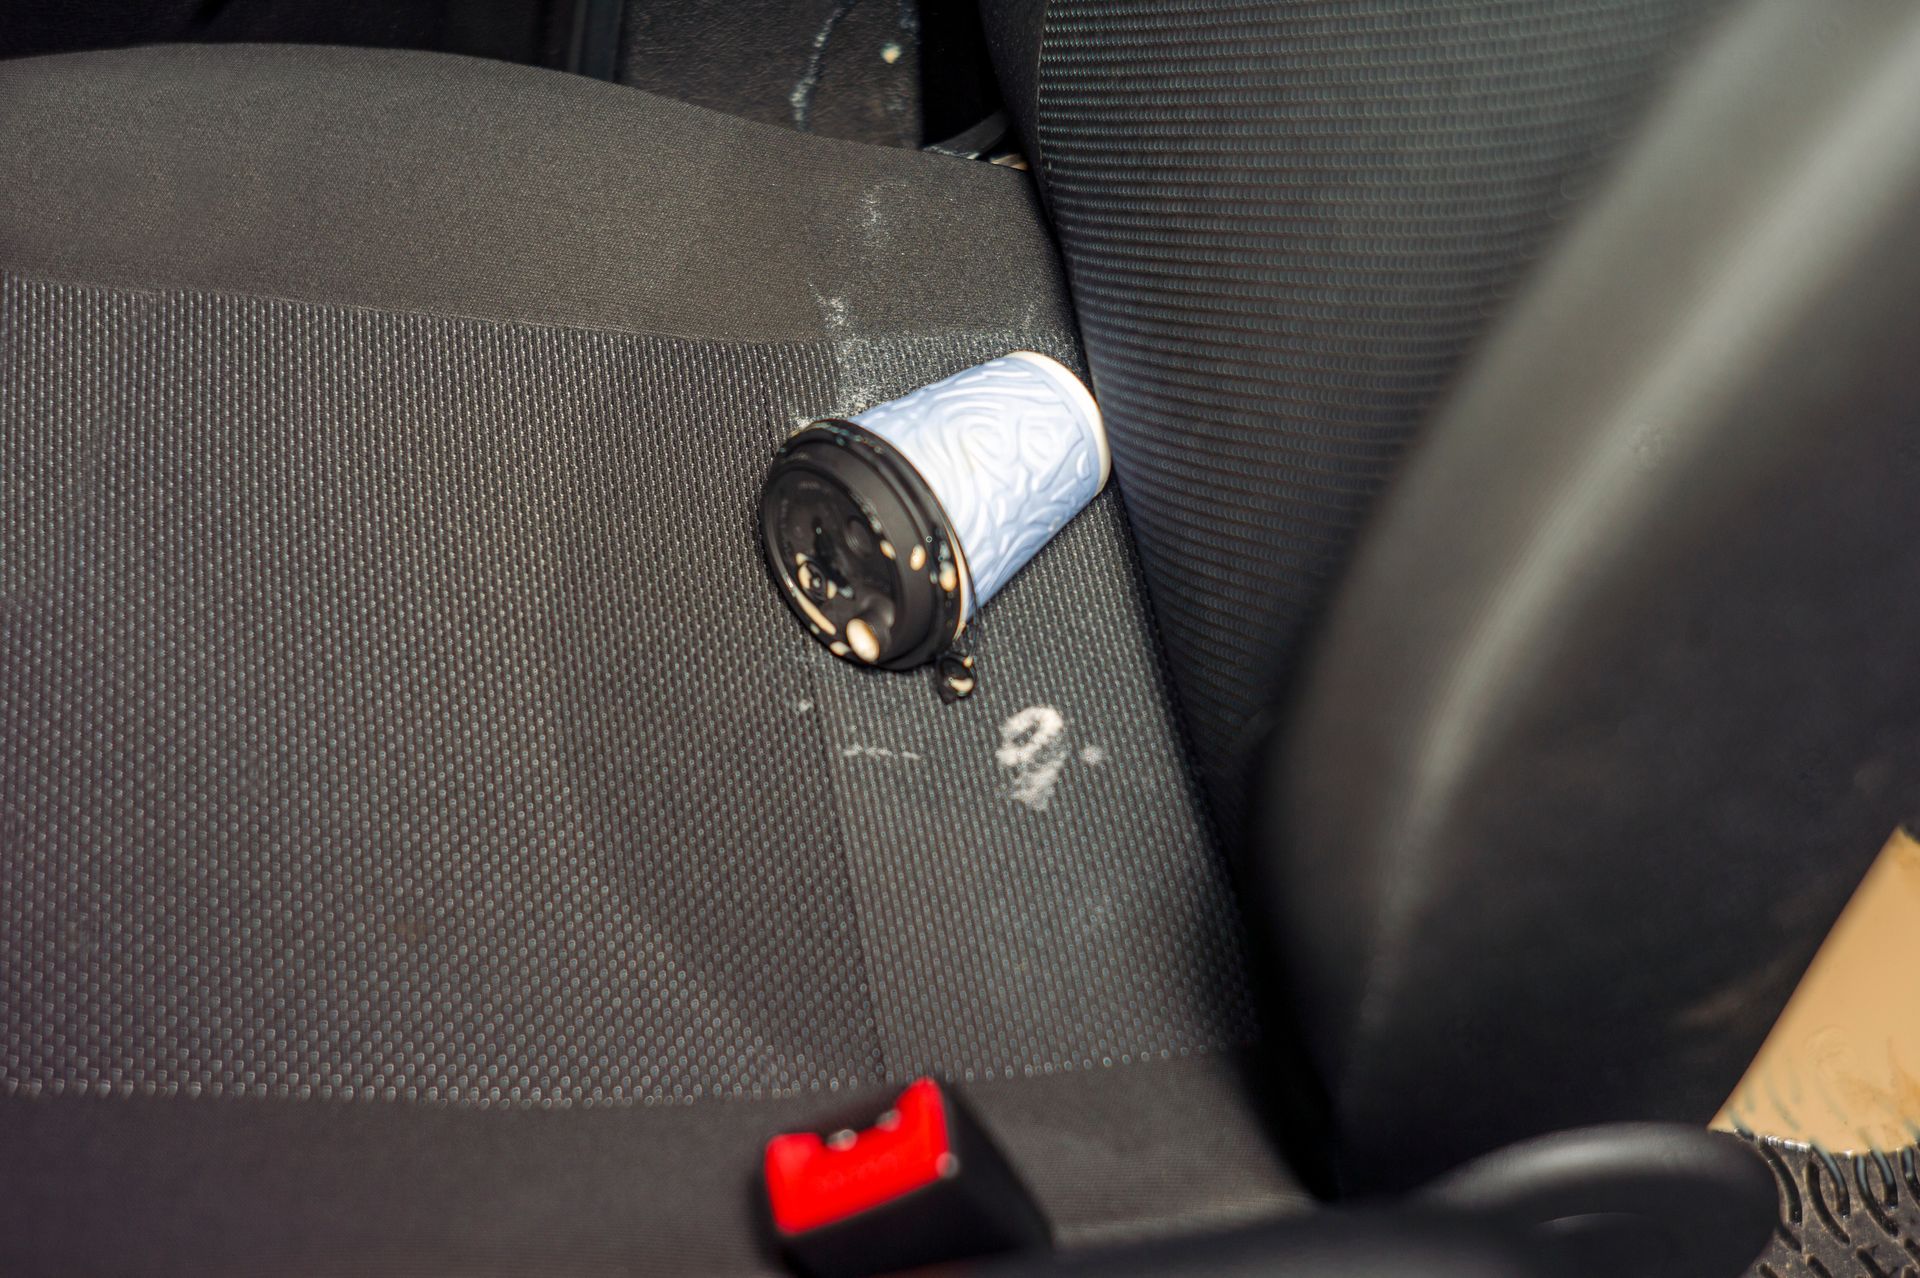
A crushed silver can on a car seat beside a red seatbelt buckle.
October 6, 2026
Spilled milk can continue smelling inside a vehicle because the liquid travels beneath the visible surface into carpet backing, padding, seat foam, seams, trim and floor channels. This problem occurs in family vehicles, work trucks, rideshare vehicles and rental fleets throughout North Carolina, including Raleigh and the Triangle, Charlotte/Lake Norman, Mooresville, the Piedmont Triad and Western North Carolina. Surface wiping may remove what can be seen while leaving physical residue underneath. Successful vehicle odor removal requires locating the complete spill, removing accessible contamination, cleaning compatible materials and drying the vehicle thoroughly. Fragrance or air treatment cannot extract milk from carpet padding or seat foam. A Common Raleigh Vehicle-Odor Situation Consider a Raleigh driver who discovers that a milk container leaked onto the rear floor during a hot weekend. The visible carpet is cleaned, but the odor returns whenever the closed vehicle heats up. Possible reservoirs include: Carpet backing Under-carpet padding Seat tracks Rear-seat foam Floor seams Plastic trim edges A removable floor mat The area beneath a child seat Items stored in the vehicle Liquid that traveled toward the cargo area The strongest-smelling surface may not contain the deepest part of the spill. Why the Problem Is Not Limited to Raleigh The same problem can occur throughout North Carolina. A Charlotte rideshare vehicle may develop odor beneath the rear seat. A Mooresville family vehicle may have liquid trapped beneath a rubber floor mat. A Greensboro work truck may remain closed all weekend. An Asheville vacation vehicle may sit unused while damp carpet and foam hold the spill. Raleigh remains a priority market for No Scents, but the investigation should always follow the affected materials—not simply the city or the strength of the odor. Why Vehicle Heat Makes Odor More Noticeable A closed vehicle can become much warmer than the surrounding air. Higher temperatures can make residual odor more noticeable inside the cabin. North Carolina humidity may also slow the drying of carpet, foam and padding when moisture is trapped beneath trim or seating. Odor that becomes stronger during the afternoon does not prove the entire vehicle is contaminated. It suggests that the original spill location, material depth and temperature pattern should be investigated. Follow the Liquid, Not Just the Smell Liquid may move: Through the carpet face Into carpet backing and padding Along floor contours Beneath plastic trim Around seat anchors Through upholstery seams Into perforated seating material Beneath a cargo liner Under removable storage compartments The spill may have moved while the vehicle was accelerating, braking, turning or parked on a slope. Record where the container was located and how the vehicle was positioned before cleaning or disassembly begins. Vehicle Materials Require Careful Treatment Vehicle interiors may contain: Synthetic carpet Foam-backed carpet Cloth upholstery Leather or coated leather Vinyl Headliner fabric Seat foam Adhesive Electronic wiring Airbag components Sensors Heating and ventilation equipment A product suitable for household carpet may not be suitable for a vehicle seat, headliner, leather coating, electrical connection or airbag component. Do not remove powered seats or electrical components without the appropriate automotive knowledge. Source Removal Comes Before Air Treatment A source-first process may include: Removing the leaking container and contaminated contents Inspecting removable floor mats Mapping the likely travel path Extracting recoverable moisture Cleaning compatible carpet and upholstery Accessing padding or foam when justified Removing unsalvageable material Rinsing away appropriate cleaning residue Drying every retained layer Rechecking the vehicle after it has been closed Evaluating remaining odor reservoirs Considering professional residual treatment only after physical cleaning Ventilation may temporarily reduce the odor inside the cabin. It cannot remove milk residue from seat foam or carpet padding. Child Seats Require Manufacturer Guidance If milk reached a child-restraint system: Consult the seat manufacturer’s instructions. Do not soak straps unless specifically permitted. Do not apply unapproved solvents, disinfectants or deodorizers. Do not alter foam, buckles or restraint components. Contact the manufacturer when cleaning limits are unclear. Vehicle odor removal should never compromise safety equipment. Where Chlorine Dioxide May Fit Chlorine dioxide is not the first response to a milk spill. It cannot: Extract liquid from carpet Remove food residue from padding Clean seat foam Dry a vehicle Replace contaminated material Repair electronics Establish that a child seat is safe Correct an active spill Replace vehicle-manufacturer instructions Professionally controlled treatment may be evaluated for an appropriate residual odor only after the physical spill has been located, cleaned and dried. Gas-phase chlorine-dioxide treatment requires an unoccupied, controlled treatment area. People, pets and plants must remain outside. Appropriate ventilation and professional clearance are required before re-entry. Never activate loose tablets inside a vehicle or mix chlorine dioxide with bleach, acids, ammonia, enzymes, upholstery products or other chemicals. Practical Steps for North Carolina Vehicle Owners Remove the leaking container and affected loose items. Photograph the spill location. Record when the spill occurred. Blot recoverable liquid with plain white absorbent material. Remove and inspect compatible floor mats. Check beneath nearby loose contents. Note whether the vehicle was parked on a slope. Follow vehicle and upholstery manufacturer instructions. Avoid saturating electrical or safety components. Save labels from products already applied. Arrange extraction when liquid reached padding or seat foam. Dry retained materials completely. Recheck the vehicle after it has been closed. Evaluate residual treatment only after source removal. What Not to Do Avoid: Covering the odor with fragrance Pouring detergent over the spill Saturating seat foam Applying bleach Mixing cleaning products Applying products through perforated seats Soaking child-seat straps Removing powered seats without qualification Spraying deodorizer into ventilation openings Closing the vehicle while materials remain wet Operating ozone in an occupied vehicle Activating chlorine-dioxide tablets inside the vehicle Treating the cabin air while residue remains in the padding Assuming odor disappearance proves the source is gone Promising permanent results without inspecting the materials North Carolina Conditions That Affect Vehicle Odor Vehicle odor problems in Raleigh, Cary, Apex, Morrisville, Charlotte, Mooresville, Greensboro, Winston-Salem, Asheville and Hendersonville can become more noticeable because of: Hot parked vehicles Humid weather Long commutes Rideshare use Family travel Grocery deliveries Work trucks Rental vehicles Vehicles left closed over a weekend Moisture trapped beneath rubber floor mats No Scents investigates the affected material and depth before recommending treatment. The correct process should not be selected from the odor description alone. When Professional Help Is Appropriate Contact an automotive technician, upholstery specialist or vehicle manufacturer when: Powered seating must be removed Airbag or restraint components are involved Liquid reached electronics Interior trim must be disassembled Material-cleaning instructions are unclear Contact No Scents when: The visible spill has been cleaned but odor remains Carpet padding or seat foam may be affected The strongest reservoir is unclear Several vehicle areas require comparison Previous fragrance or cleaning products complicate diagnosis Physical source removal needs evaluation Controlled professional residual treatment may be appropriate
September 30, 2026
Moisture readings help Raleigh, NC property owners locate hidden water, monitor structural drying and determine when carpet, walls and subfloors are appropriately dry.
Male hand painting wall with paint roller. Painting apartment, renovating with red color paint
September 30, 2026
Fresh paint can improve the appearance of a smoke-affected home, apartment or commercial space. It does not automatically remove the source of cigarette odor.
More Posts